

Dahlia tuber care 101
Dahlias are fantastic. Be warned, once you start growing them, you’ll fall in love and a mild obsession may ensue. When properly stored and cared for, your dahlias will grow year after year, even if you live in a cold place like I do and have to dig them up every winter. More on that later.
This page is intended to get you started with your dahlias. I recommend Floret Farm’s excellent book Discovering Dahlias if you want to go further down the rabbit hole. Floret also has excellent video tutorials on dahlia care, such as digging and dividing tubers. This is how I learned to get started with these flowers, and I keep learning through various flower farming resources online and in social media.
I love that the flower growing community shares knowledge and tips. I highly recommend you go see who else grows these flowers in your zone and in your community and learn together. Nearly every state has a dahlia society you can join for a reputable community of fellow growers.
Dahlia Tuber Care
If you’ve just purchased a tuber but aren’t ready to plant it yet, keep it stored in a dry and cool environment. A dahlia tuber that is healthy for planting should have a body, an intact neck, and at least one eye. After a long winter spent in storage, the body may be a little shriveled. As long as it is not mushy or wet, it is fine to plant.
As the tuber comes out of dormancy you may see the “eyes” start to swell on the head of the tuber. This is your dahlia waking up from its winter slumber. Different types of dahlias wake up at different times. You don’t have to wait to see the eyes before you plant it.
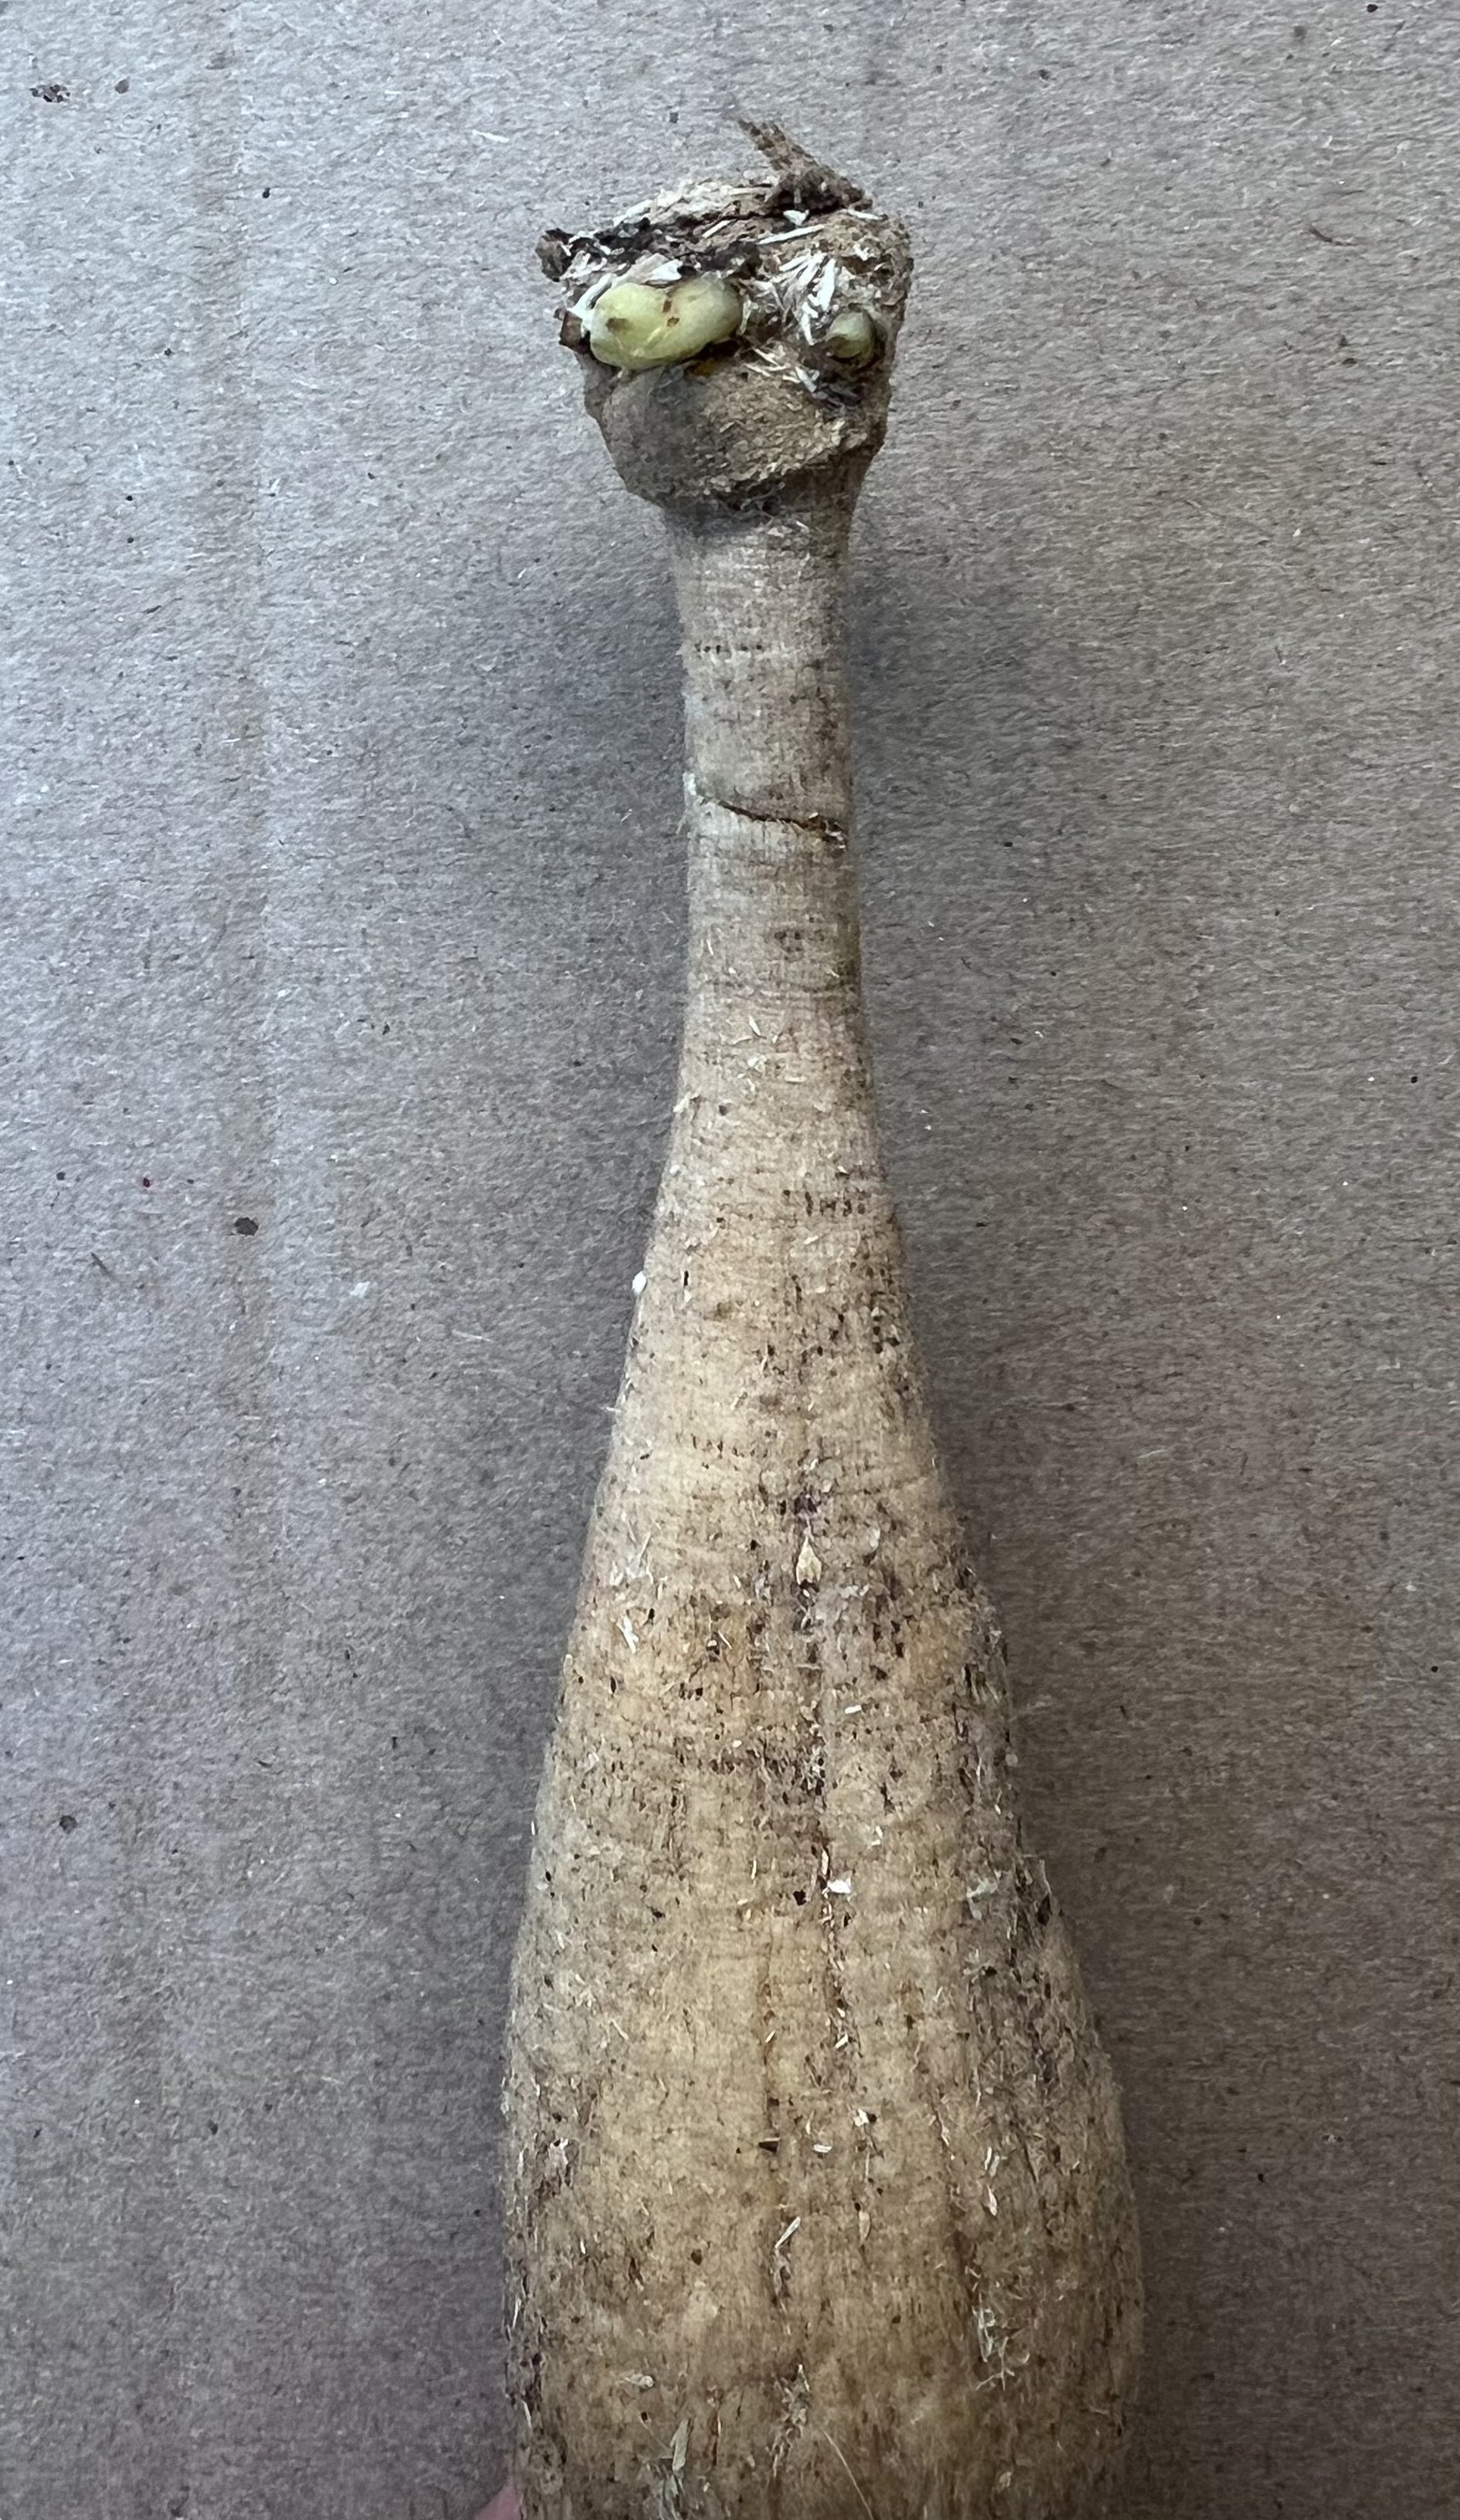
A dahlia tuber with a firm body, neck, and head with two sprouting eyes.
Planting your tubers
Plant your tubers after all danger of frost as these are heat-loving plants and a good freeze can kill them. Bury your tuber 4-6 inches below the soil surface in well-draining soil. Most resources will tell you to lay them horizontally, but I place mine vertically so that the top is about 4 inches below the surface. I find that they do well in either position. I mix in a dose of all-purpose fertilizer into each hole at planting time.
I will note here that we plant our dahlia tubers in beds made of compost, often amended with worm casings, that have spent the winter in cover crop. Most home gardeners won’t have this set-up. Home gardeners should generously mix compost into the soil they wish to grow their dahlias in. You can also grow them in large pots. If you’re really looking to optimize production, consider having your soil tested through your local extension agency and amend the soil as recommended. Amendments are best added in fall so they have time to mix in, but spring is ok, too.
Space dahlias about 12-18in apart. You may wish to experiment with what works for you in your environment. Closer spacing leads to less air flow. If you live in a very humid place, like I do, 12in is about as close as you want to get, and you should plan to keep the lower stems pruned to support air flow and reduce disease pressure.
Different dahlias emerge at different times, but generally you should see them sprouting through the soil in about a month. You may consider covering them with some insect netting when they first start to emerge if rabbits are a problem in your area.
Growing on
Dahlias benefit from pinching once they are about 12-18 inches tall. To do this, take a clean pair of snips and remove the top 3-4 inches of the center stalk. You’ll see more side branches shoot out, and that means more flowers for you when your dahlia starts blooming.
Dahlias get tall, with some varieties reaching over 5 feet in height. Depending on the type of dahlia you’re growing, the blooms can also get heavy. Therefore, support for your dahlias is essential. You can stake them individually with garden stakes and twine, or you can corral them with t-posts and twine if growing a large number in a row.
Watering and Fertilization
Water dahlias deeply at least twice per week. You don’t want them sitting in water-logged soil, but you don’t want them drying out either. They need regular hydration to produce all of those beautiful blooms.
For fertilization, we like to use a balanced fertilizer at planting, and applied again every 30 days. After the plants start blooming, we switch to a low nitrogen, high phosphorus fertilizer to support flower production.
Harvesting
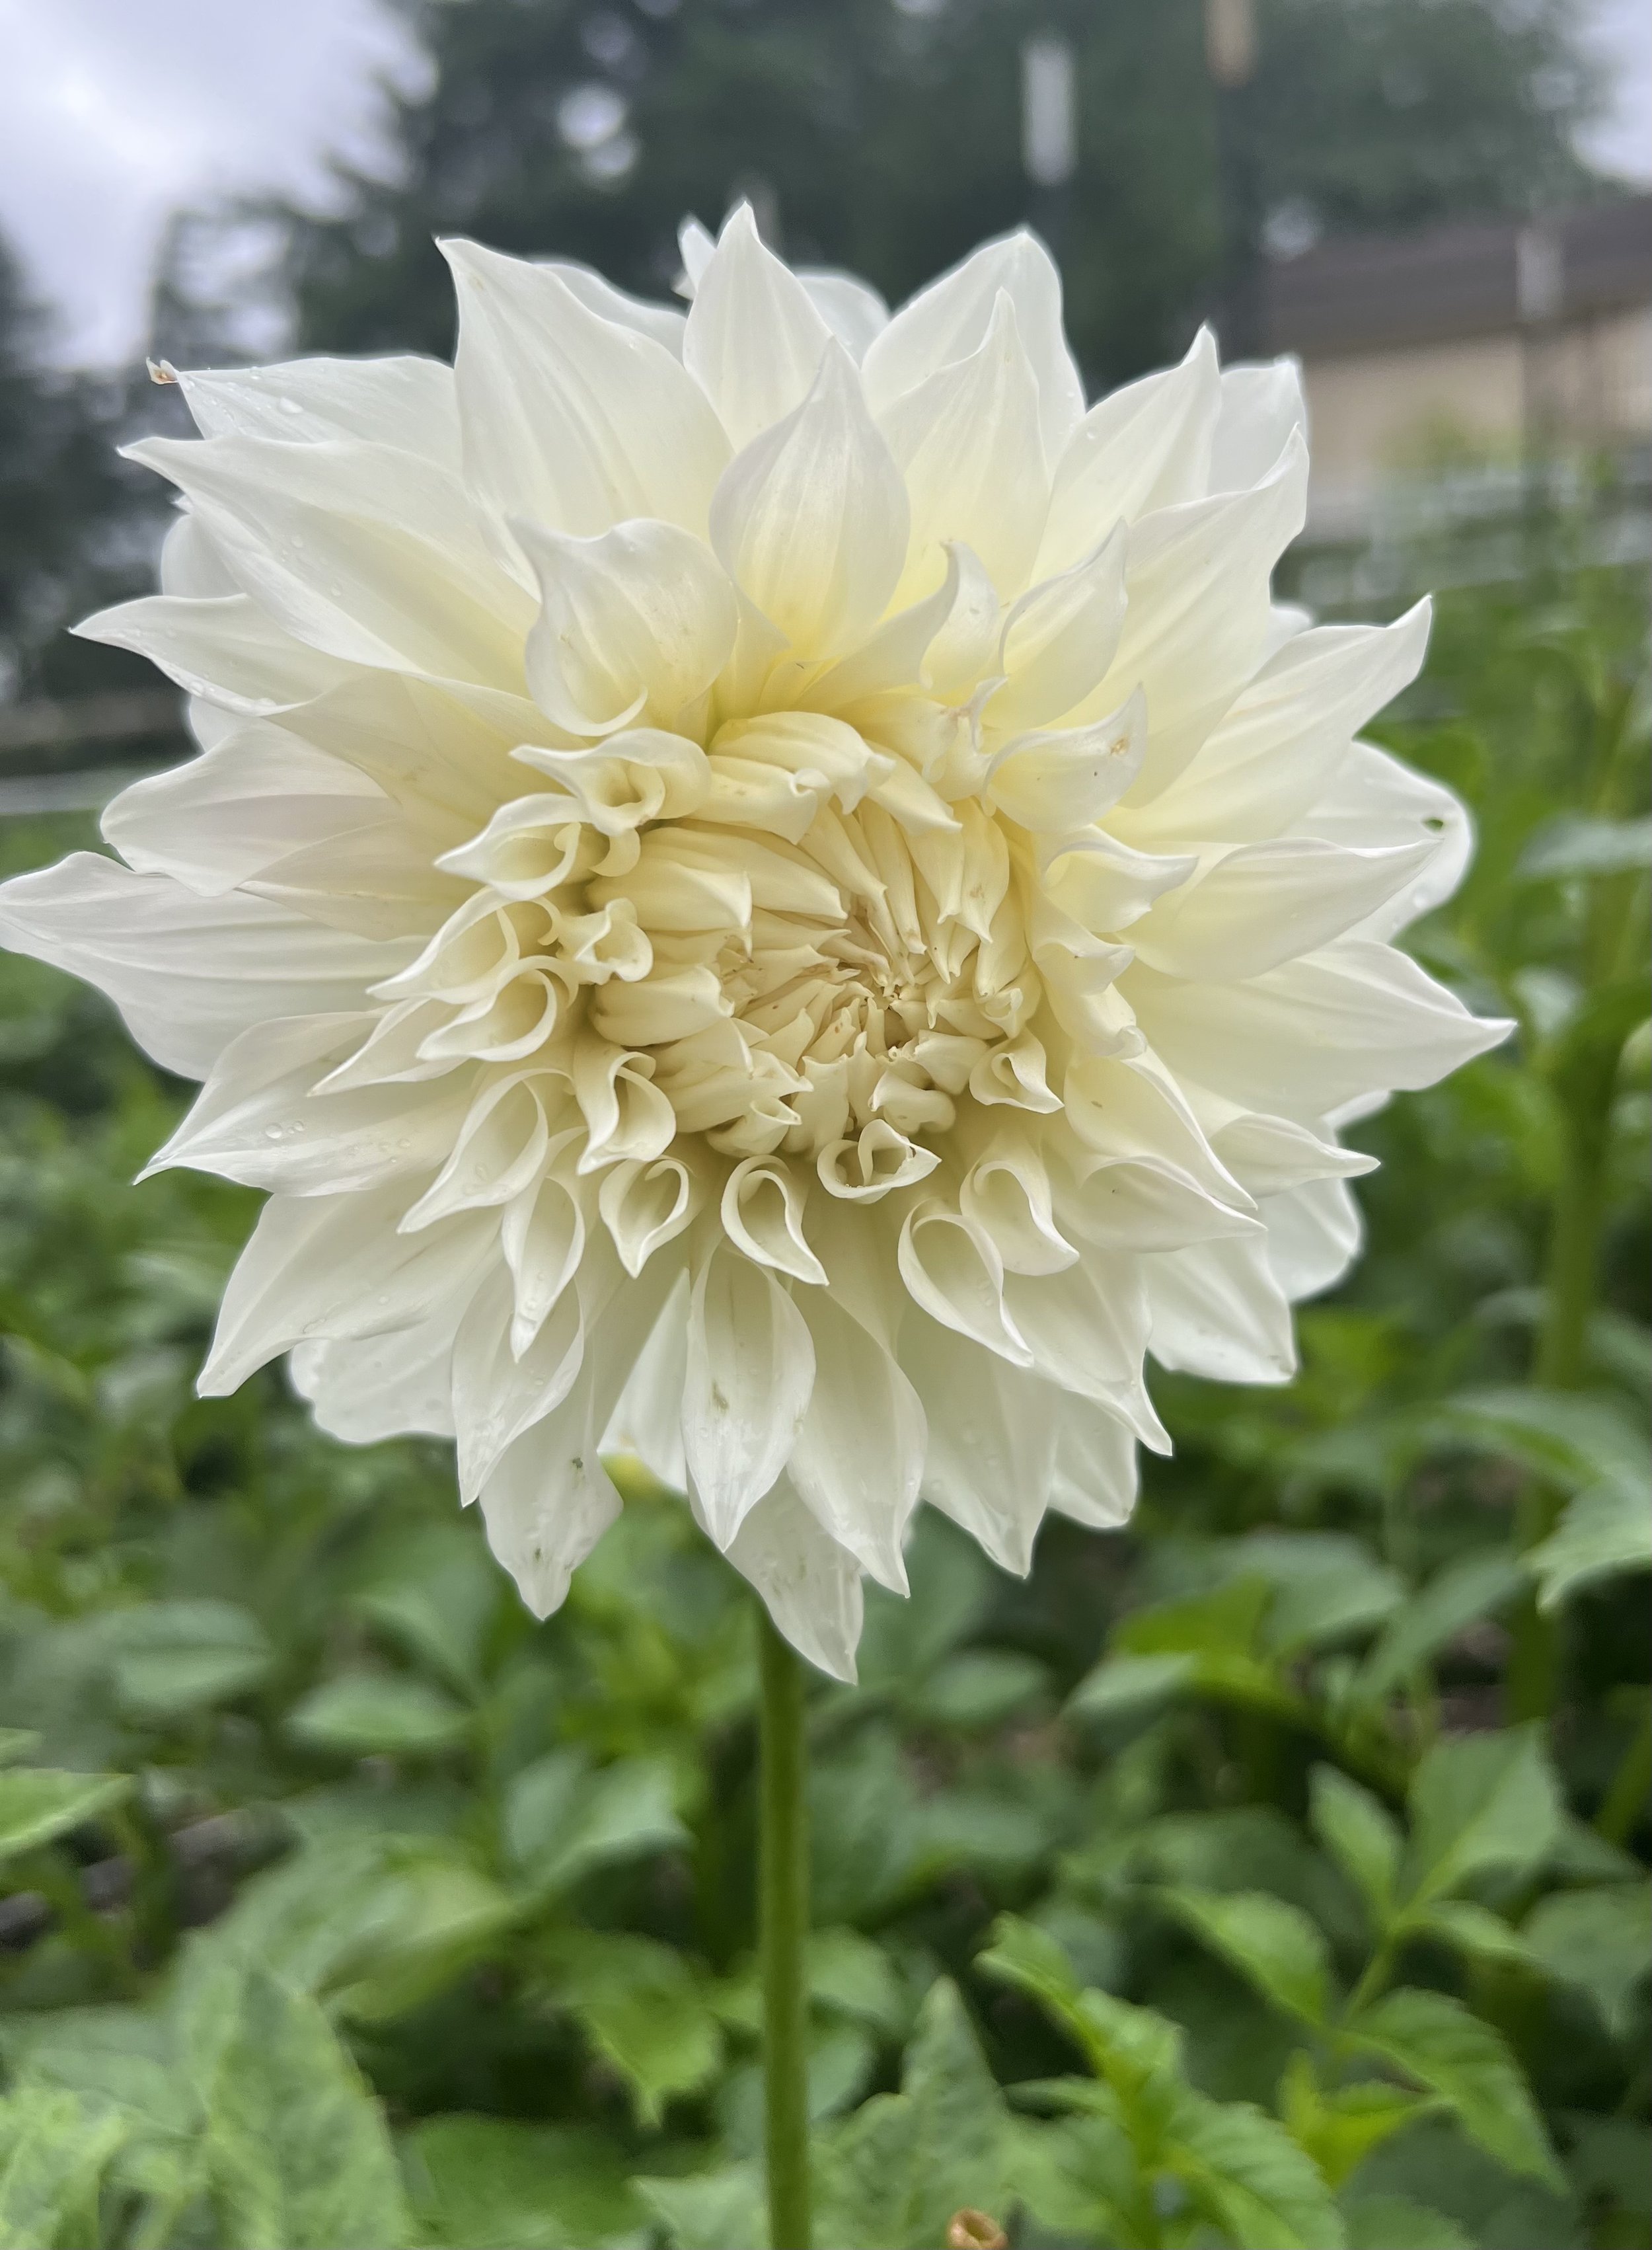
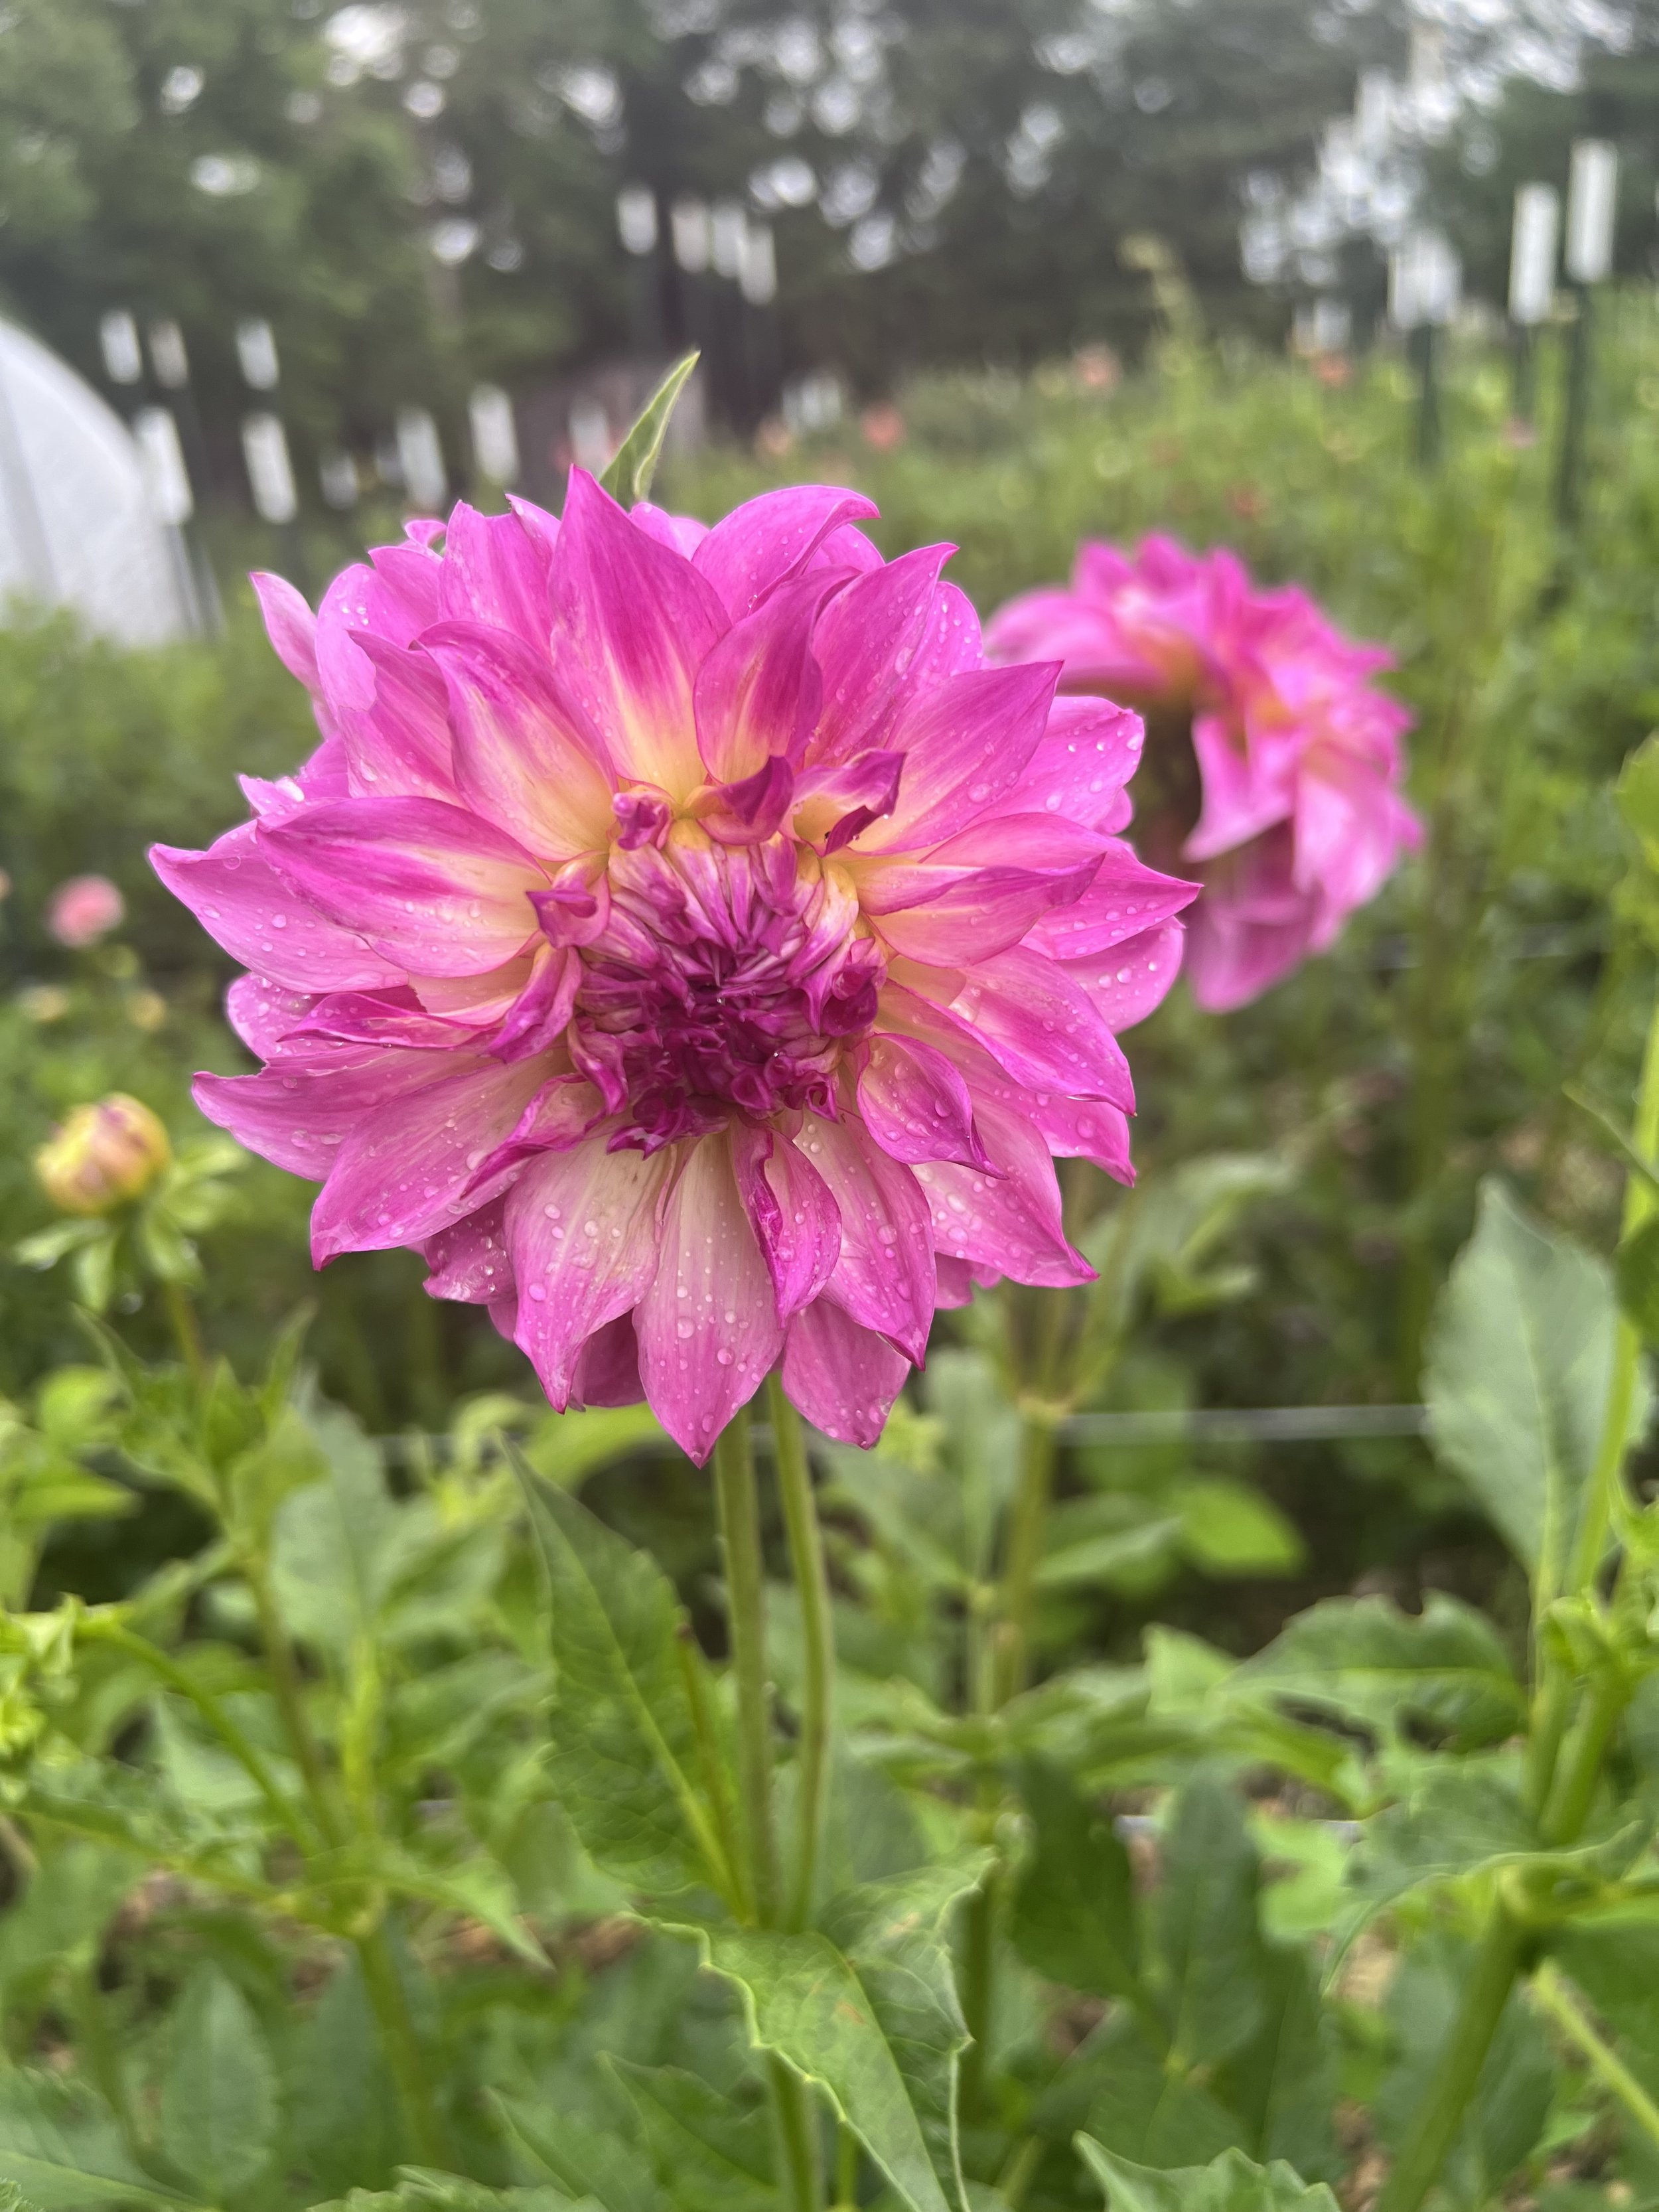
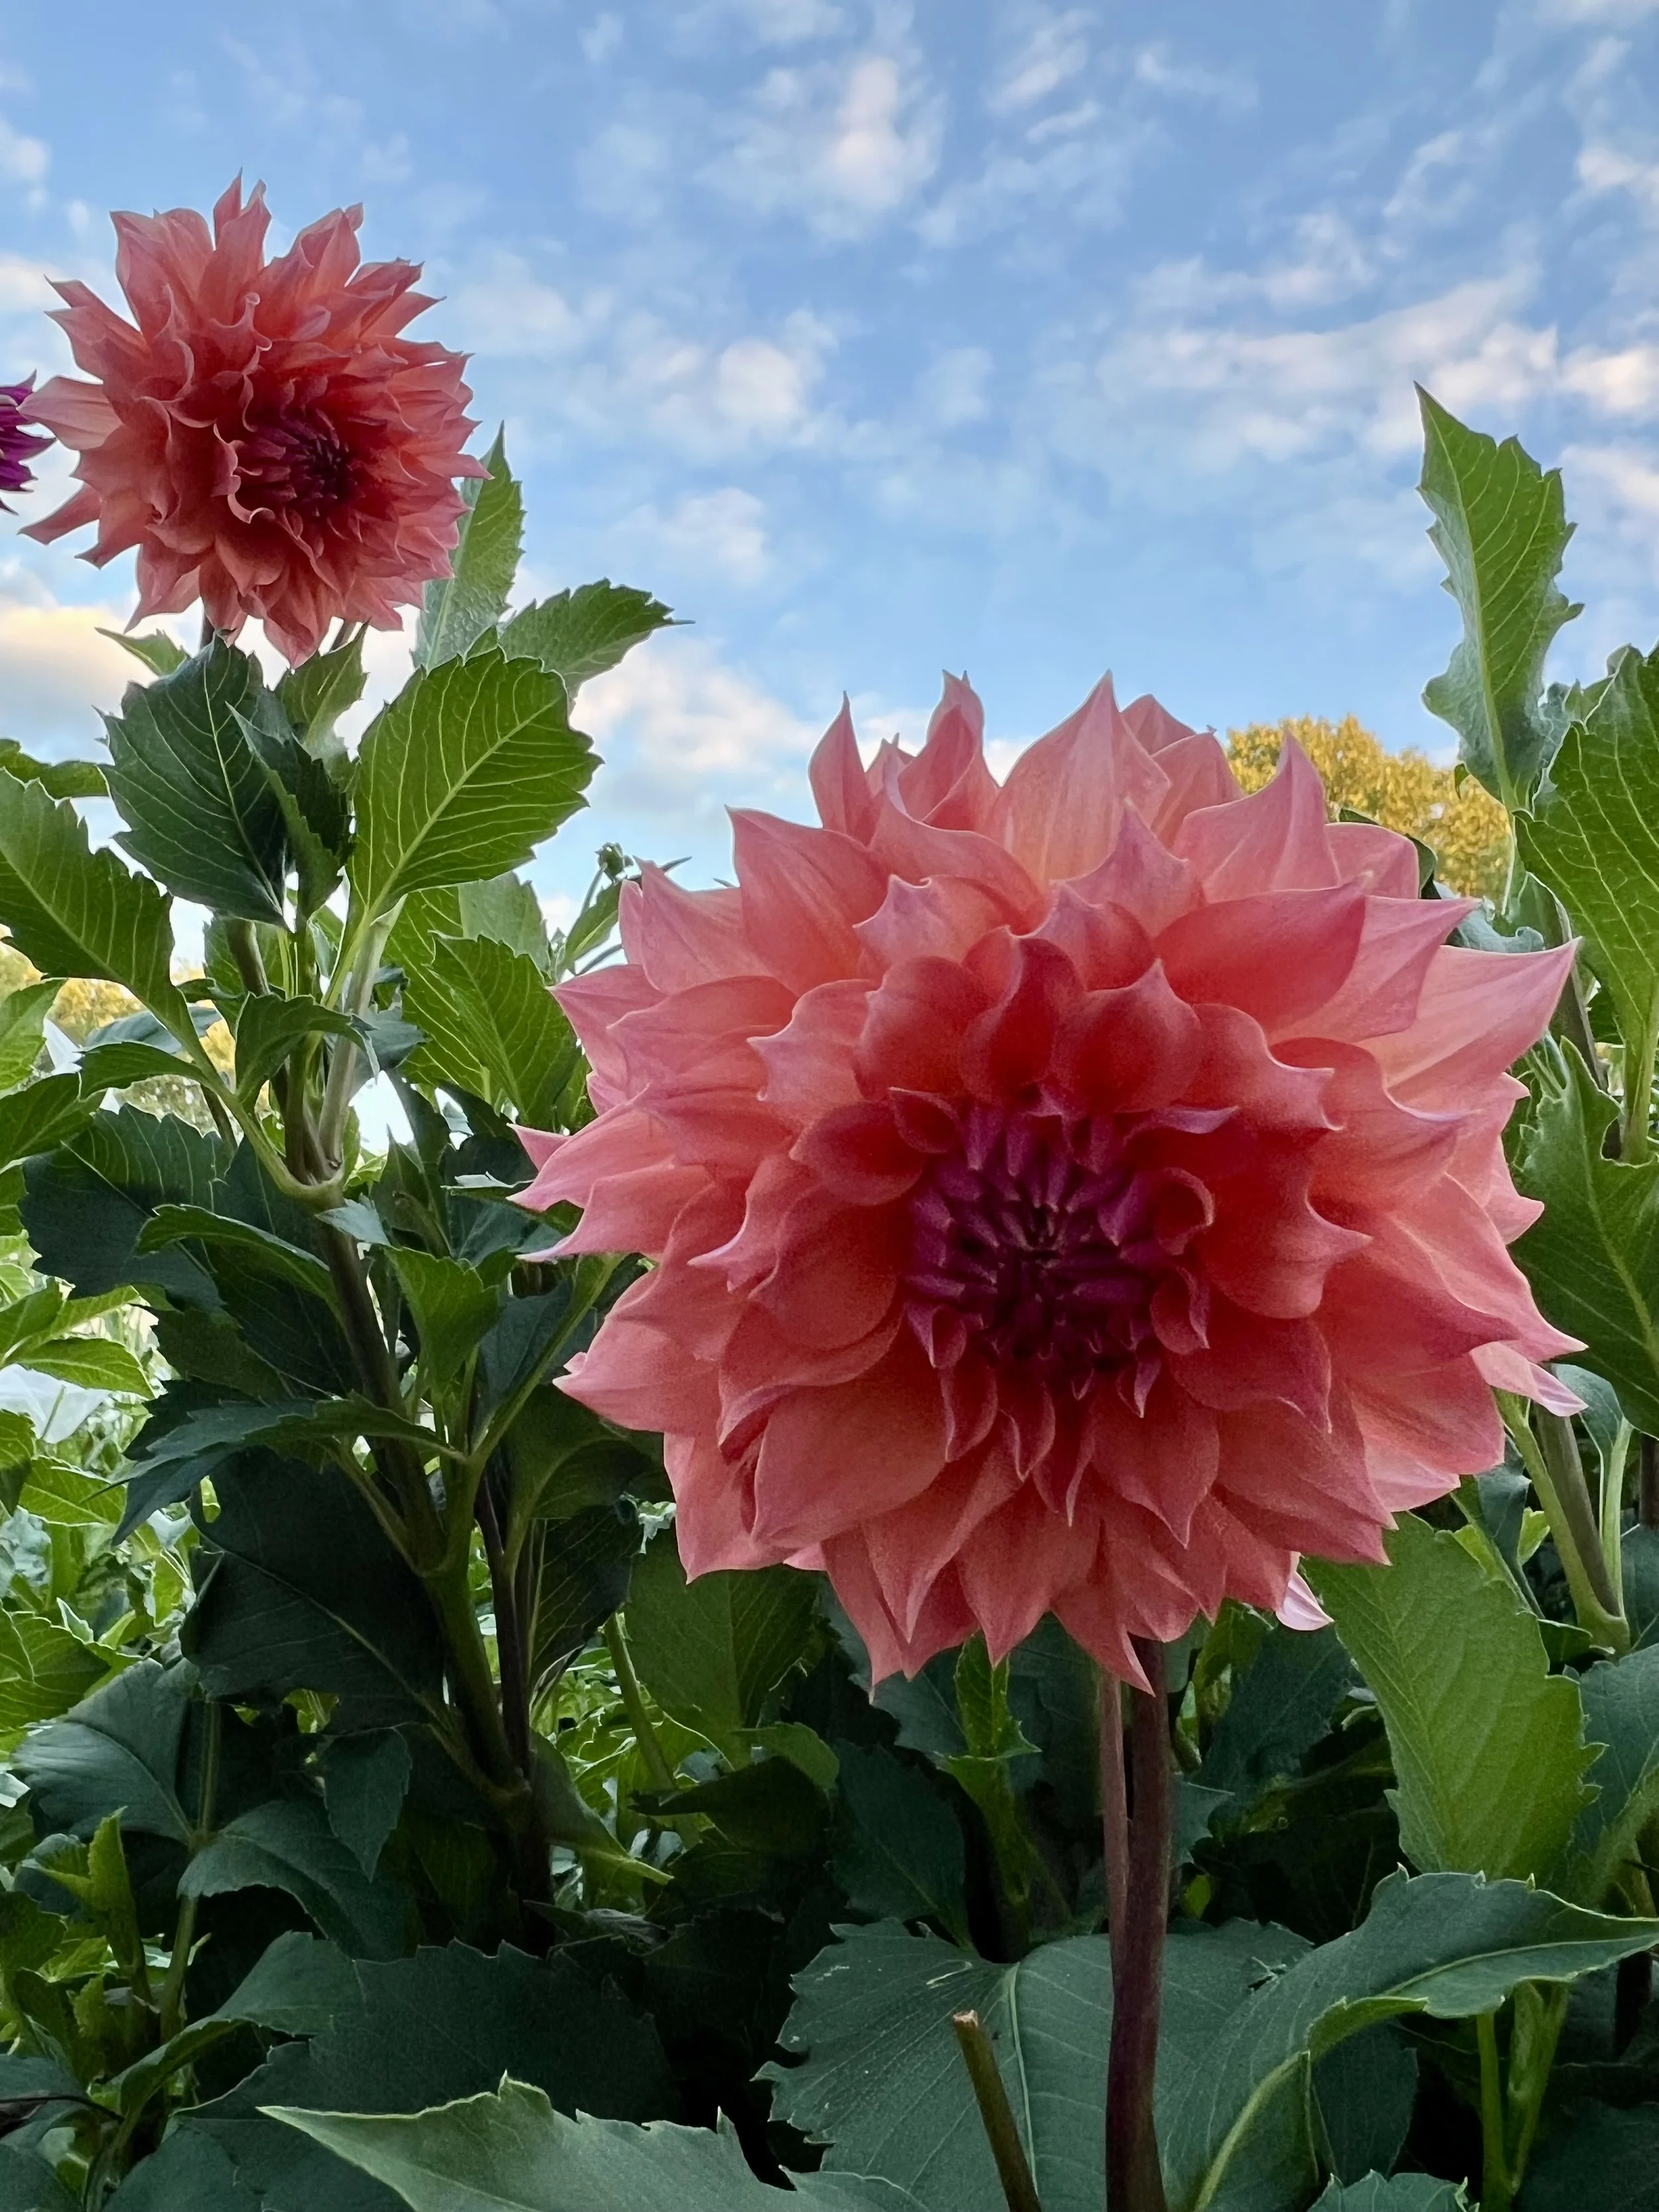
Dahlias are a cut-and-come-again flower. The more you cut them, the more they bloom. When harvesting, aim to cut about 18in in stem-length. This will signal to your plant to make more flowers. Enjoy blooms from about July through first frost.
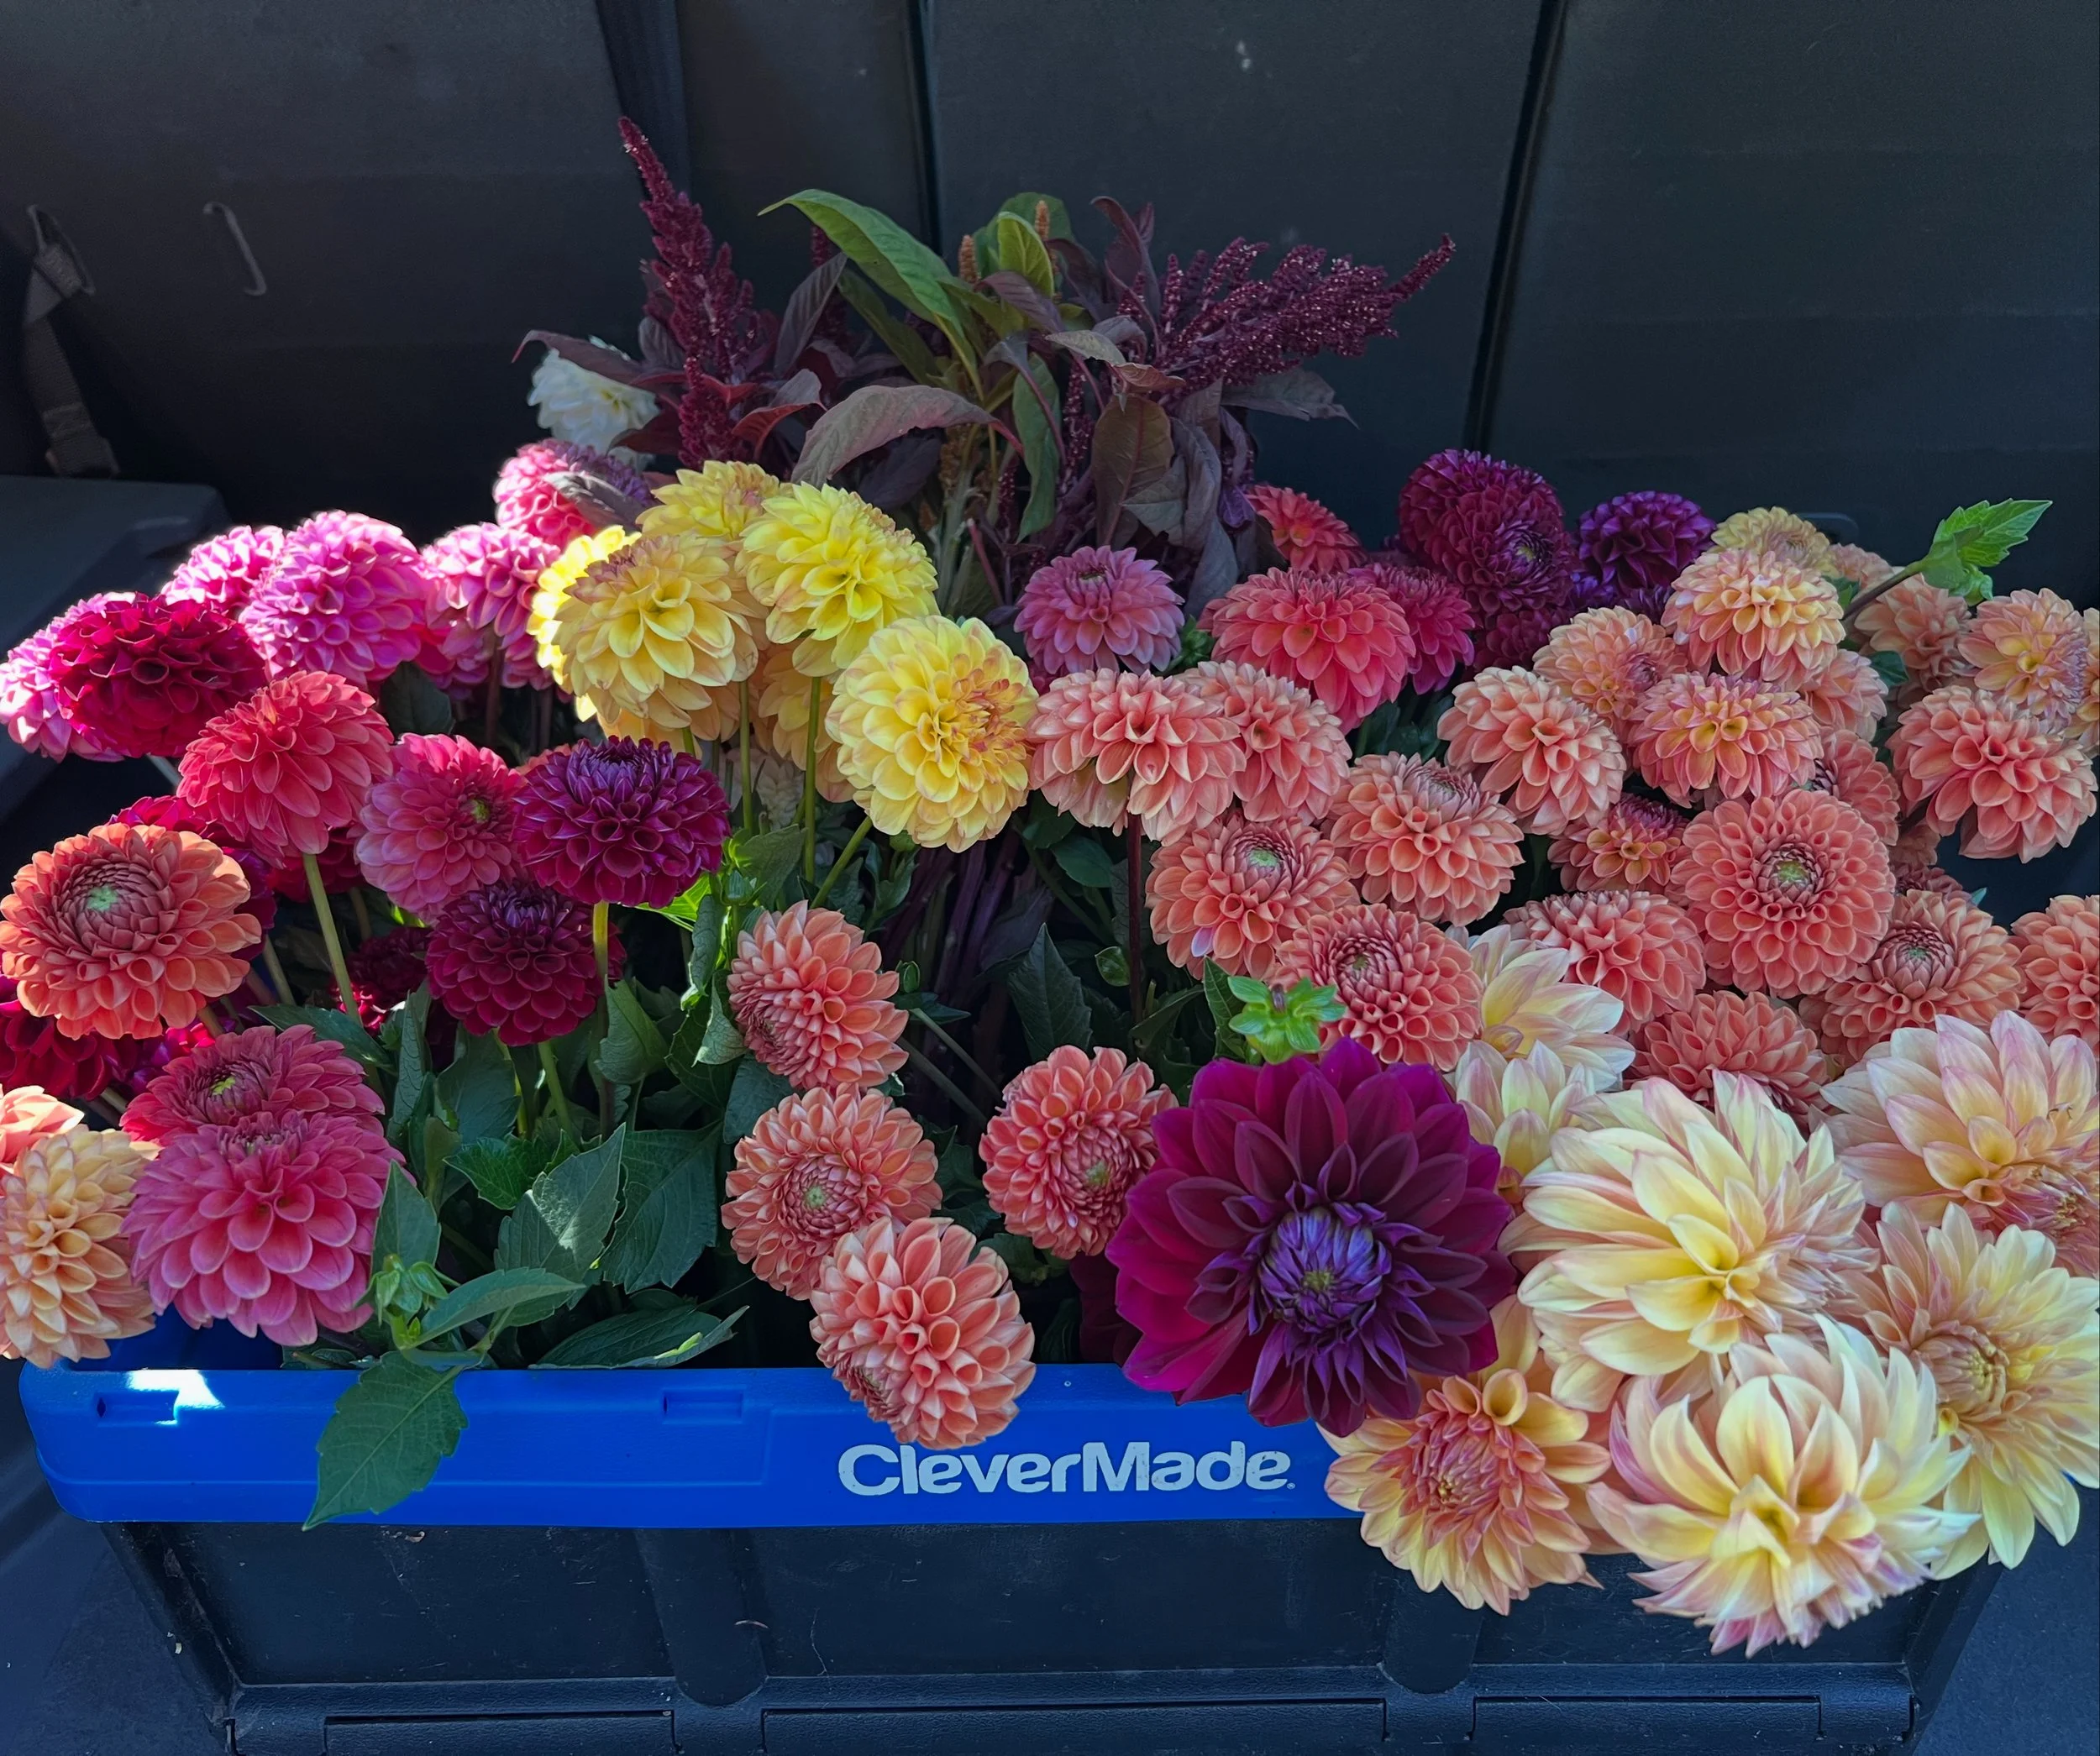
Dahlias on their way to a florist.
Digging and storing dahlia tubers
Dahlias should be in the ground around 120 days for optimal tuber production. Growers in Zones 7 and up can leave their tubers in the ground to over-winter. Growers in Zone 6 may be able to leave their tubers in the ground with good mulching.
Growers in Zone 5 and below should dig their tubers at the end of the season and store them until the spring. I’ve seen some Zone 5 growers who overwinter their dahlias with a lot of mulch and black plastic but I choose not to risk it.
A good frost will kill your dahlia foliage and turn the flowers brown. If you have many varieties planted, make sure they are clearly labeled before your first frost, as you may not be able to tell who is who after the blooms die!
For the dahlias you wish to dig, cut the foliage back just above the ground. If they have been in the ground for >120 days you can lift them up with a garden fork or shovel. You can also leave them in the ground for a couple of weeks to allow the tubers to cure for storage.
Dig your dahlia tuber up and be amazed at how many tubers your one little tuber made. Now you can clean them, divide them if you wish, and have even more dahlias for next year. It’s a little like Christmas in November.
Store your dahlia tubers for next year in a dry medium such as wood shavings or vermiculite. We pack ours in plastic containers with snap-on lids, clearly labeling the outside to know who is who. Make sure they are completely dry before you store them or they will rot. We keep our sleeping tubers in a cooler at around 36-38 degrees all winter long.